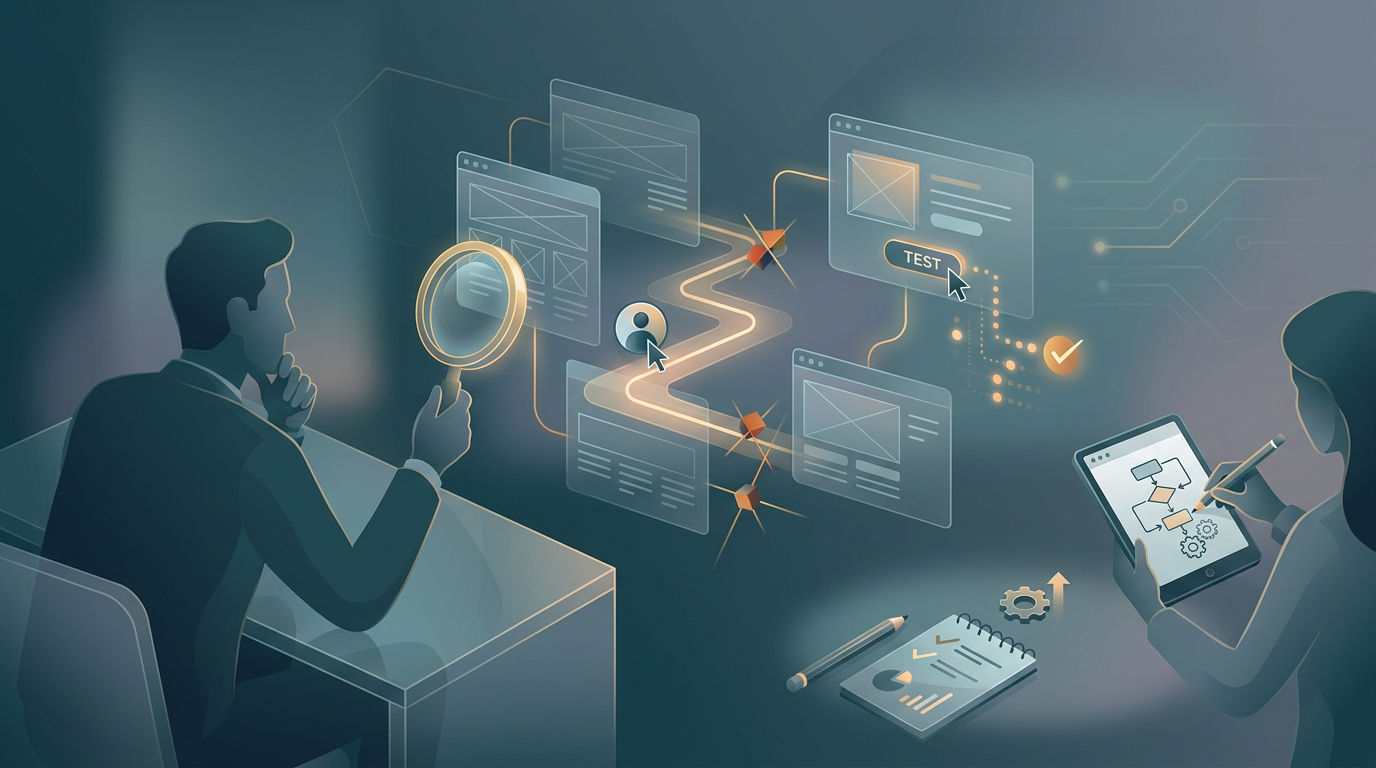
How to Test a Clickable Prototype Before Coding
Testing a clickable prototype before writing code involves observing target users as they attempt specific tasks in a design mockup to identify friction points and usability flaws. This process—usability testing—evaluates can they use the product, which is entirely distinct from demand validation (evaluating will they buy the product). By testing high-fidelity mockups early, founders can iterate on user experience (UX) without incurring the high costs of engineering.
Here is a step-by-step methodology for conducting task-based usability sessions on your clickable prototype.
Step 1: Define Core User Tasks
Instead of giving a user your prototype and asking, "What do you think?", you must design specific, realistic tasks for them to complete. Focus on the core user journeys that deliver the primary value of your product.
- Identify the "Happy Path": What is the most common sequence of actions a successful user will take?
- Keep tasks discrete: Break down complex workflows into individual, measurable steps (e.g., "Create an account," "Find a specific product," "Check out").
Step 2: Write Neutral Instructions
The way you frame tasks can drastically skew your results. You must provide neutral instructions that tell the user what goal to achieve without telling them how to achieve it. Avoid using the exact vocabulary found on your prototype's buttons.
Poor Instruction: "Click the 'Add to Cart' button and then go to the 'Checkout' page." Neutral Instruction: "Show me how you would purchase this item."
Step 3: Conduct the Usability Session
When running the session, your role is strictly observational.
- Set expectations: Tell the user, "We are testing the design, not you. If you get stuck, it is a flaw in the design."
- Encourage thinking aloud: Ask participants to verbalize their thought process as they navigate the prototype.
- Do not rescue them: If a user clicks the wrong area or gets confused, resist the urge to guide them. Note how long it takes them to recover, or if they give up.
Step 4: Take Structured Observer Notes
Record specific, objective data during the test. For each task, track:
- Task Completion: Did they complete the task successfully, complete it with difficulty, or fail entirely?
- Time on Task: How long did it take?
- Friction Points: Where did they hesitate, click unclickable elements, or express confusion?
- Quotes: Capture exact phrases that highlight their mental model.
Step 5: Analyze Results and Plan Revisions
After testing with 5 to 7 users, patterns will emerge. Use a decision matrix to categorize usability issues based on severity and frequency, then revise your prototype accordingly.
Hypothetical Usability Analysis Table
| Task | Completion Rate | Primary Friction Point | Revision Decision |
|---|---|---|---|
| 1. Create an account | 5/5 (100%) | None | No change needed. |
| 2. Filter search results | 2/5 (40%) | Users did not see the filter icon. | Move filters from a hidden menu to a persistent sidebar. |
| 3. Export data report | 0/5 (0%) | Users clicked the profile icon instead of 'Settings'. | Redesign navigation hierarchy; make 'Export' a primary button. |
Once your prototype passes usability testing with high completion rates, you are ready to transition from design to development. At this stage, you should scope your MVP for technical feasibility to ensure your tested designs can be built within your budget and timeline.
Key Takeaways
Testing a clickable prototype prevents costly engineering rework. By focusing on neutral, task-based usability sessions, you gather objective data on user behavior rather than subjective opinions. Once your prototype's usability is confirmed and technically scoped, you can confidently document your final requirements using a PRD generator to hand off to your engineering team.
Ready to apply this?
Idea OS evaluates your startup across market sizing, ICP, competition, and more—then generates strategic artifacts tailored to your evaluation.
Evaluate your idea first →New to Idea OS? Start by evaluating your idea.